




Seed Collection basics and Mastering Cold Stratification
Updated: May 15

SEED COLLECTION BASICS
Starting plants from seeds is an interesting and cost-effective way to add to your garden. Consider harvesting seeds from your own garden or from the garden of a friend. Be sure to carefully label seeds with the species name and collection date using clean tools and containers to reduce contamination.
If you wish to harvest wildflower seeds from a natural habitat, please use caution so you do not overharvest and cause harm to a local ecosystem. Many natural habitats are protected, so pay attention to signs that may outlaw seed collection from wild plants. If allowed, only harvest wild seeds if there is a healthy population of plants - more than 20 of the same type of specimen thriving in an area. Never collect more than 5% from any population.
Collecting Seeds Throughout the Seasons
Successful seed collection is the foundation of a thriving garden. Collecting seeds at the right time and storing them properly ensures high germination rates.
Spring and Early Summer
Harvest seeds when seed pods or flower heads start to dry but before they shatter.
Dry seeds thoroughly before storage to prevent mold.
Late Summer and Fall
This is the prime time for collecting seeds from many native and non-native perennials, shrubs and trees and from vegetables.
Look for fully mature seeds that have changed color or hardened.
Use paper bags or envelopes for drying and storage.
starting the seeds that you collected
Starting seeds can be tricky, especially when dealing with plants that require specific conditions to germinate. Cold stratification is one of those techniques that many gardeners overlook, yet it plays a crucial role in breaking seed dormancy for many species. Alongside effective seed collection throughout the seasons, mastering cold stratification can dramatically improve your success rate in growing healthy plants year-round.
Understanding Cold Stratification
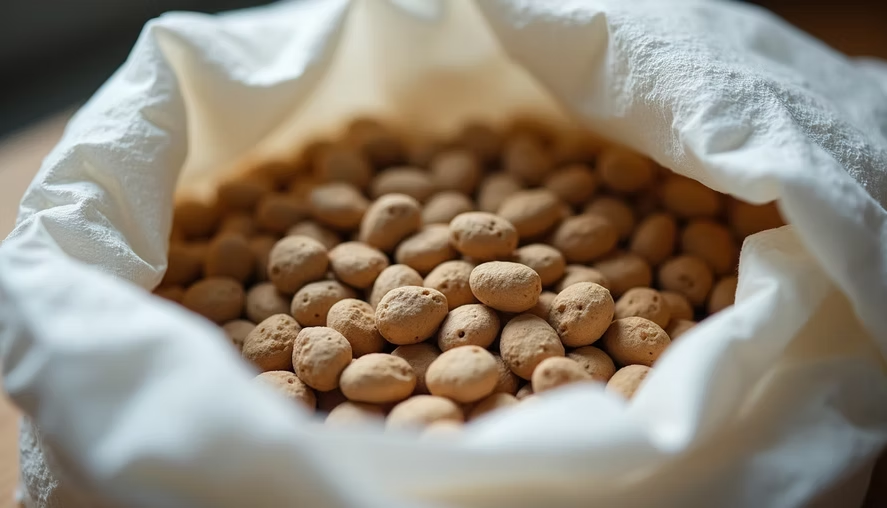
Cold stratification mimics the natural winter conditions some seeds need to germinate. Many seeds from temperate climates have evolved to remain dormant through cold months and only sprout when temperatures rise in spring. Without this cold period, seeds may fail to germinate or take much longer to sprout. Most plants native to western Pennsylvania along with many common non-native perennials and herbs require this stratification, or period of cold, to germinate in high numbers.
How Cold Stratification Works
Seeds contain growth inhibitors that prevent germination until conditions are favorable. Exposure to cold and moisture breaks down these inhibitors, signaling the seed to start growing. This process usually requires:
A period of cold temperatures between 1°C and 5°C (34°F to 41°F)
Consistent moisture without soaking the seed
Duration ranging from 2 weeks to 3 months, depending on species
Knowing which seeds require this treatment helps avoid frustration and wasted effort.
Seeds That Benefit from Cold Stratification
Some common seeds that need cold stratification include:
Perennials like coneflowers, lupines, and columbines
Trees such as oaks, maples, and pines
Shrubs like lilacs and viburnums
Knowing which seeds require this treatment helps avoid frustration and wasted effort.
Practical Steps for Cold Stratification at Home
You don’t need specialized equipment to cold stratify seeds. Here’s a simple method:
Prepare the seeds: Clean and dry seeds if freshly collected.
Moisten a medium: Use a paper towel, sand, or peat moss. It should be damp but not dripping.
Mix seeds with the medium: Spread seeds evenly.
Place in a sealed bag or container: This keeps moisture consistent.
Refrigerate: Store in the fridge at 1°C to 5°C for the required time.
Check regularly: Look for mold or drying out and adjust moisture as needed.
After stratification, sow seeds promptly in suitable soil.
If sowing seeds in the spring, stratify your seeds in late winter, so they will be ready to sow
during the appropriate planting times.
Common Challenges and How to Overcome Them
Mold during stratification: Keep medium moist but not wet. Use fresh paper towels and ventilate bags occasionally.
Seeds not germinating after stratification: Check if the species truly requires cold stratification or if the duration was sufficient.
Poor seed viability: Collect seeds only from healthy plants and store them in cool, dry conditions.
Final Thoughts on Cold Stratification and Seed Collection
The most important thing about starting the seed process is trial and error and noting your results ---- start by starting and see what happens!


Comments